
One of my favorite movie quotes of all times comes from Field of Dreams, when Kevin Costner keeps hearing, “If you build it, they will come.” For those of you jumping into the
We started working on the makerspace in our library about two years ago. It was not an instant success. It took a year of trial and error to determine what worked best for my school before it really became popular. If I’ve learned anything in this journey, it’s that no two makerspaces will look or operate alike.
As you begin to plan your makerspace, consider the items in the next few sections. I want to help you learn from our mistakes. This will help you save precious time and make it a more integral part of your school culture much faster.
Why Create a Libary Makerspace?
One of the first things you need to think about is why you want to set up a makerspace in your school. There is a ton of research supporting the maker movement, but how does it fit into your school’s culture, the curriculum or the needs of your students?
This is a big question to answer. It can determine the resources you purchase, how you incorporate it and much more.
For me, it was a need I saw for our students. Our students spend so much time behind a screen that they have missed out on the things I did when I was younger like sewing, building, just creating things in general. There is also the need to expose them to higher tech activities like coding, electronics, creating with a 3D printer and more. I knew these were they types of things I wanted our students to experience
When Will Students Be Able to Come?
This was probably the hardest piece of the puzzle to determine and the one that took the most work in my situation. I am a librarian at a middle school. Schedules are packed down to the minute. There was no “down” time where students could just come and explore without missing instruction.
Not every school has this problem. Our elementary school has a built in intervention time that became the perfect time to send students to work independently. You have to look at your unique situation and think about when students would actually have time to come down to use your resources.
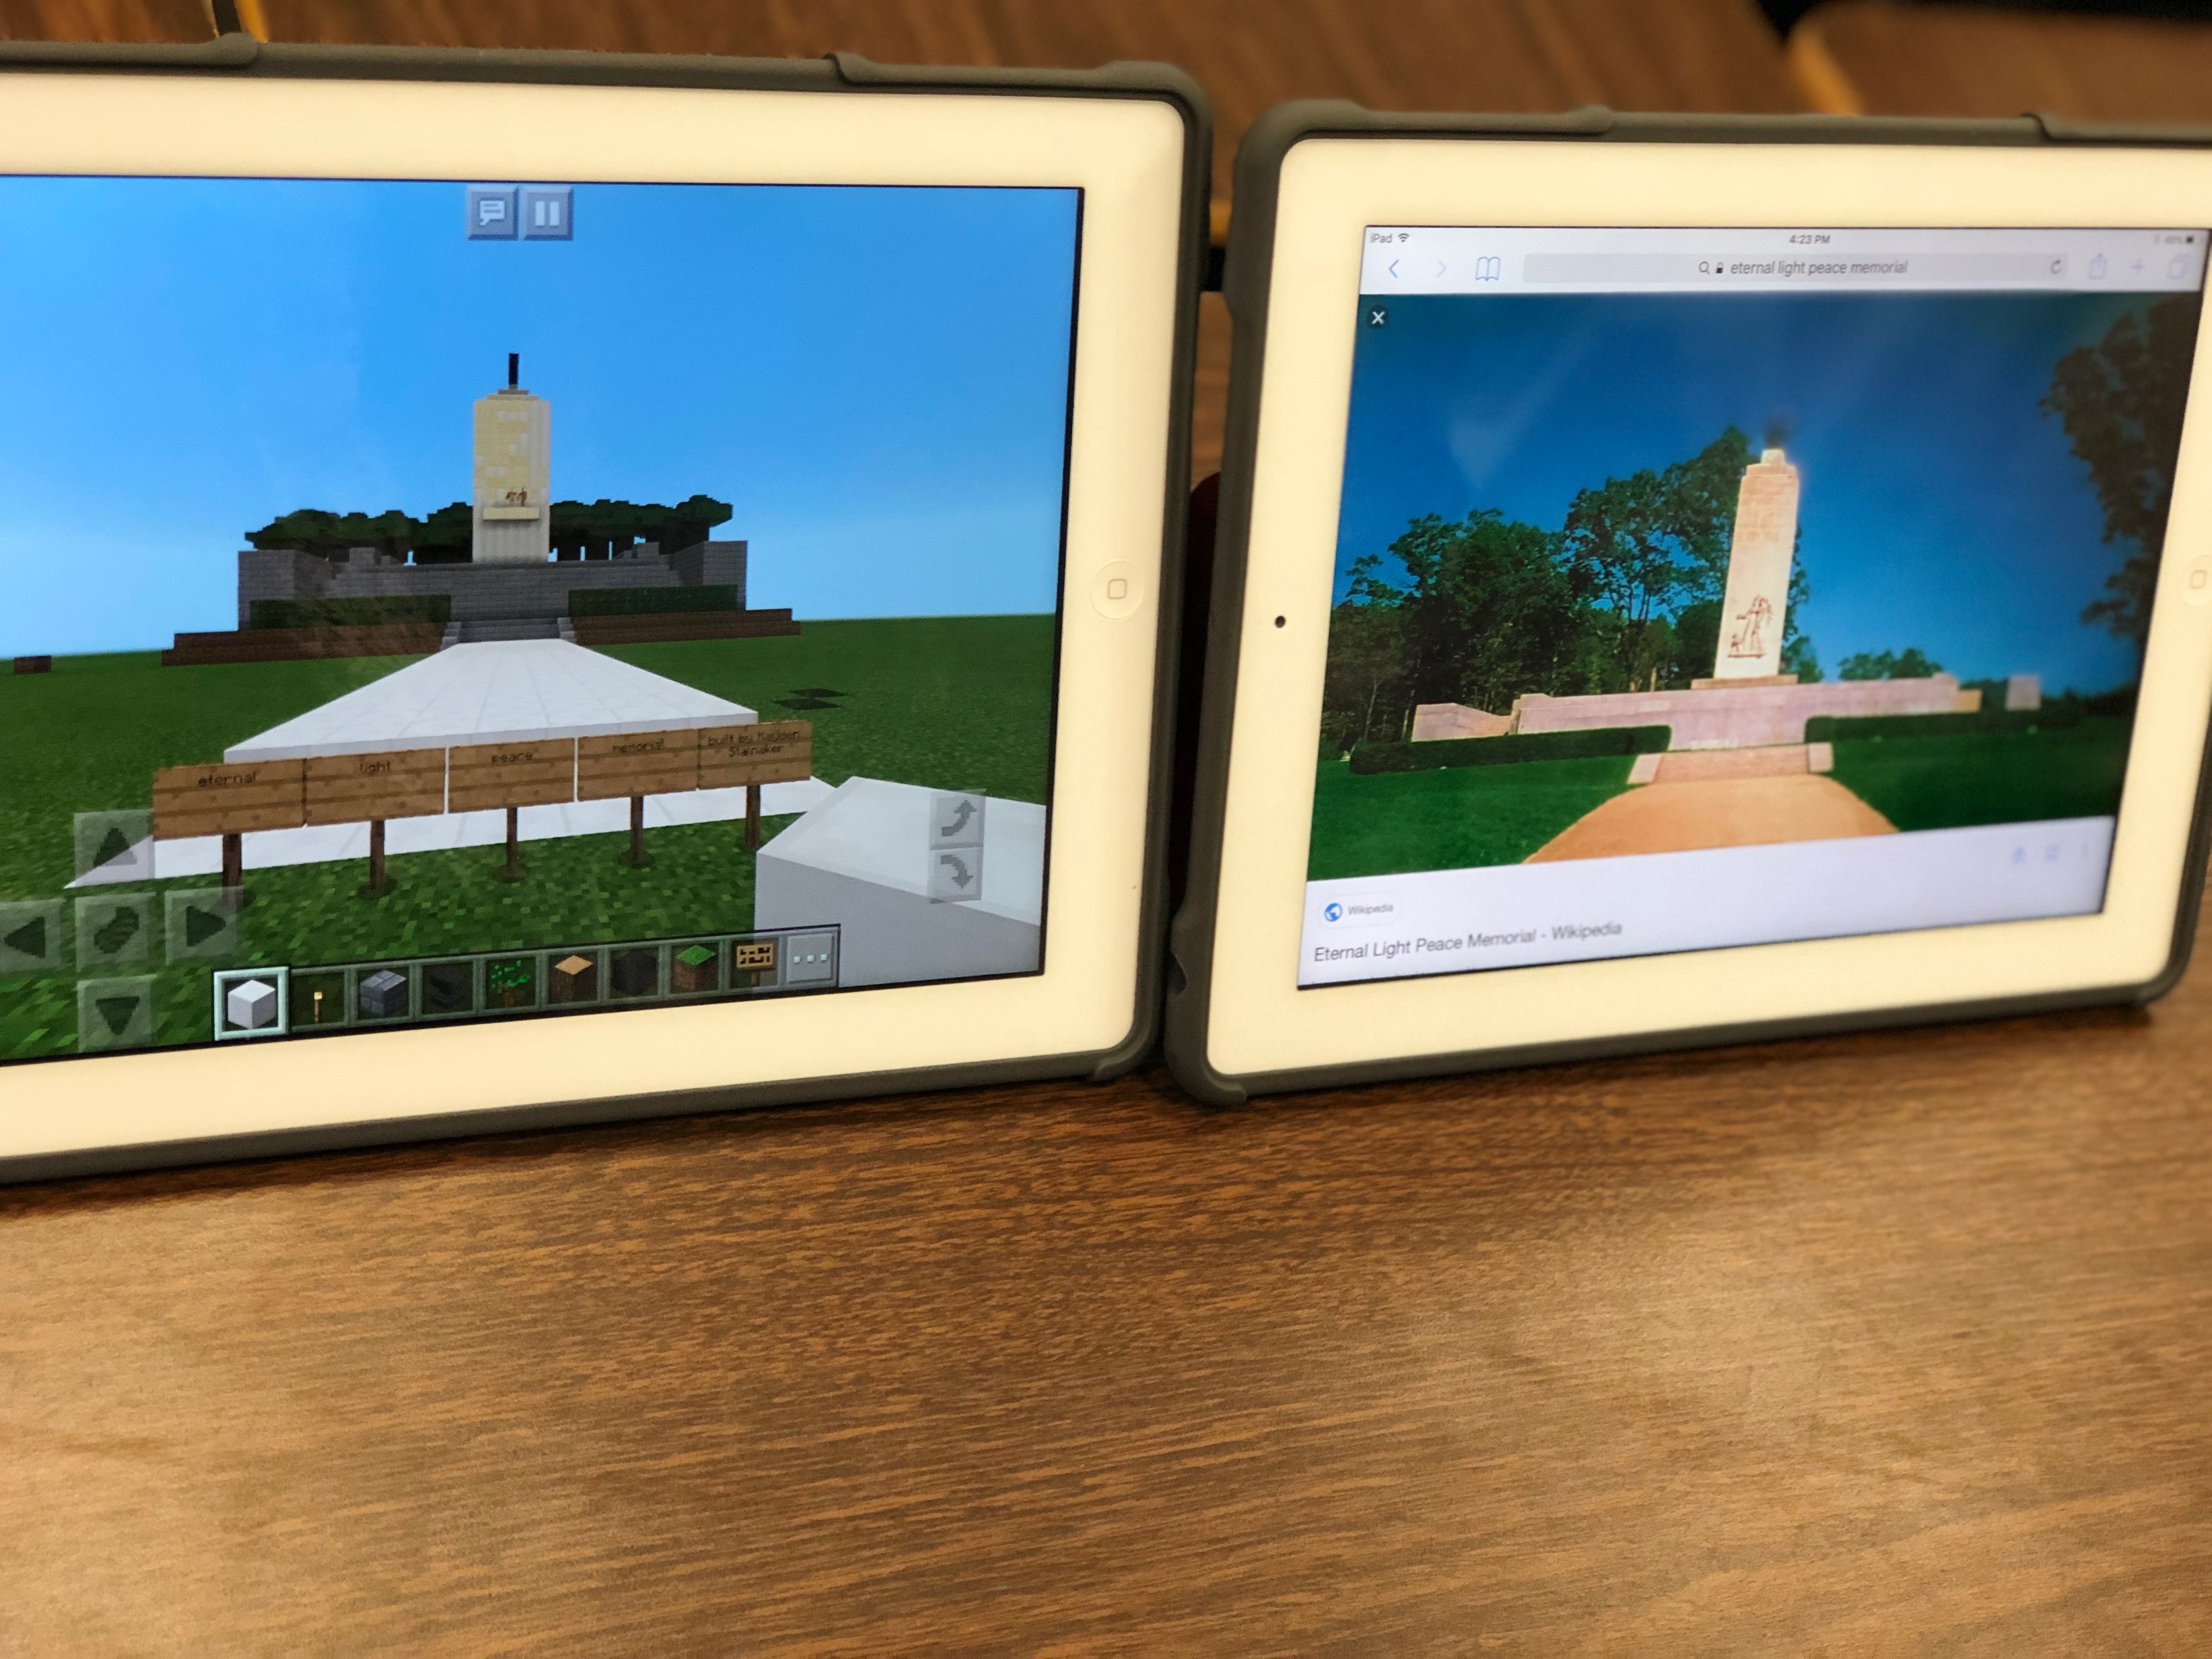
My breakthrough came when I was talking with one of our social studies teachers about an upcoming project. He was requiring his some of his students to create an artifact to support their project while others that were retelling a folk tale had to create a skit. I suggest having students use the 3D printer and green screen. That became the start of something amazing. Once we shared his projects with the rest of the staff, things really began to gel. From that point on, I made it a point to know the units being taught. I could recommend activities that used our 3D printer, green screen, Google Expeditions, Minecraft, Spheros and more. These resources then became options when students were completing unit projects. Teachers and students alike were excited to have a wider variety of project options.
If you’re having trouble getting students in the door, then determine how you can partner with teachers for projects. Offer to have small groups come in. If it works, bring in the entire class to get things going. Once you put in the initial legwork and teachers understand what their students can do in a makerspace it’s hard to keep them away.
What to Purchase for Your Makerspace?
Make sure you take the time to plan out your vision and begin with the best resources to help get you there.
Before you start spending money, I strongly suggest you make sure you have determined
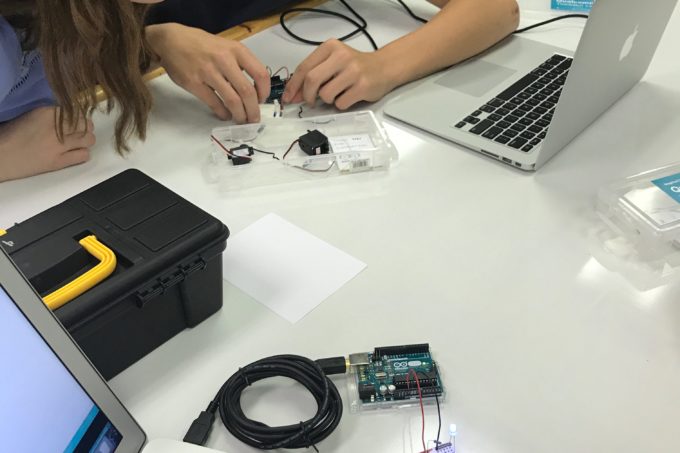
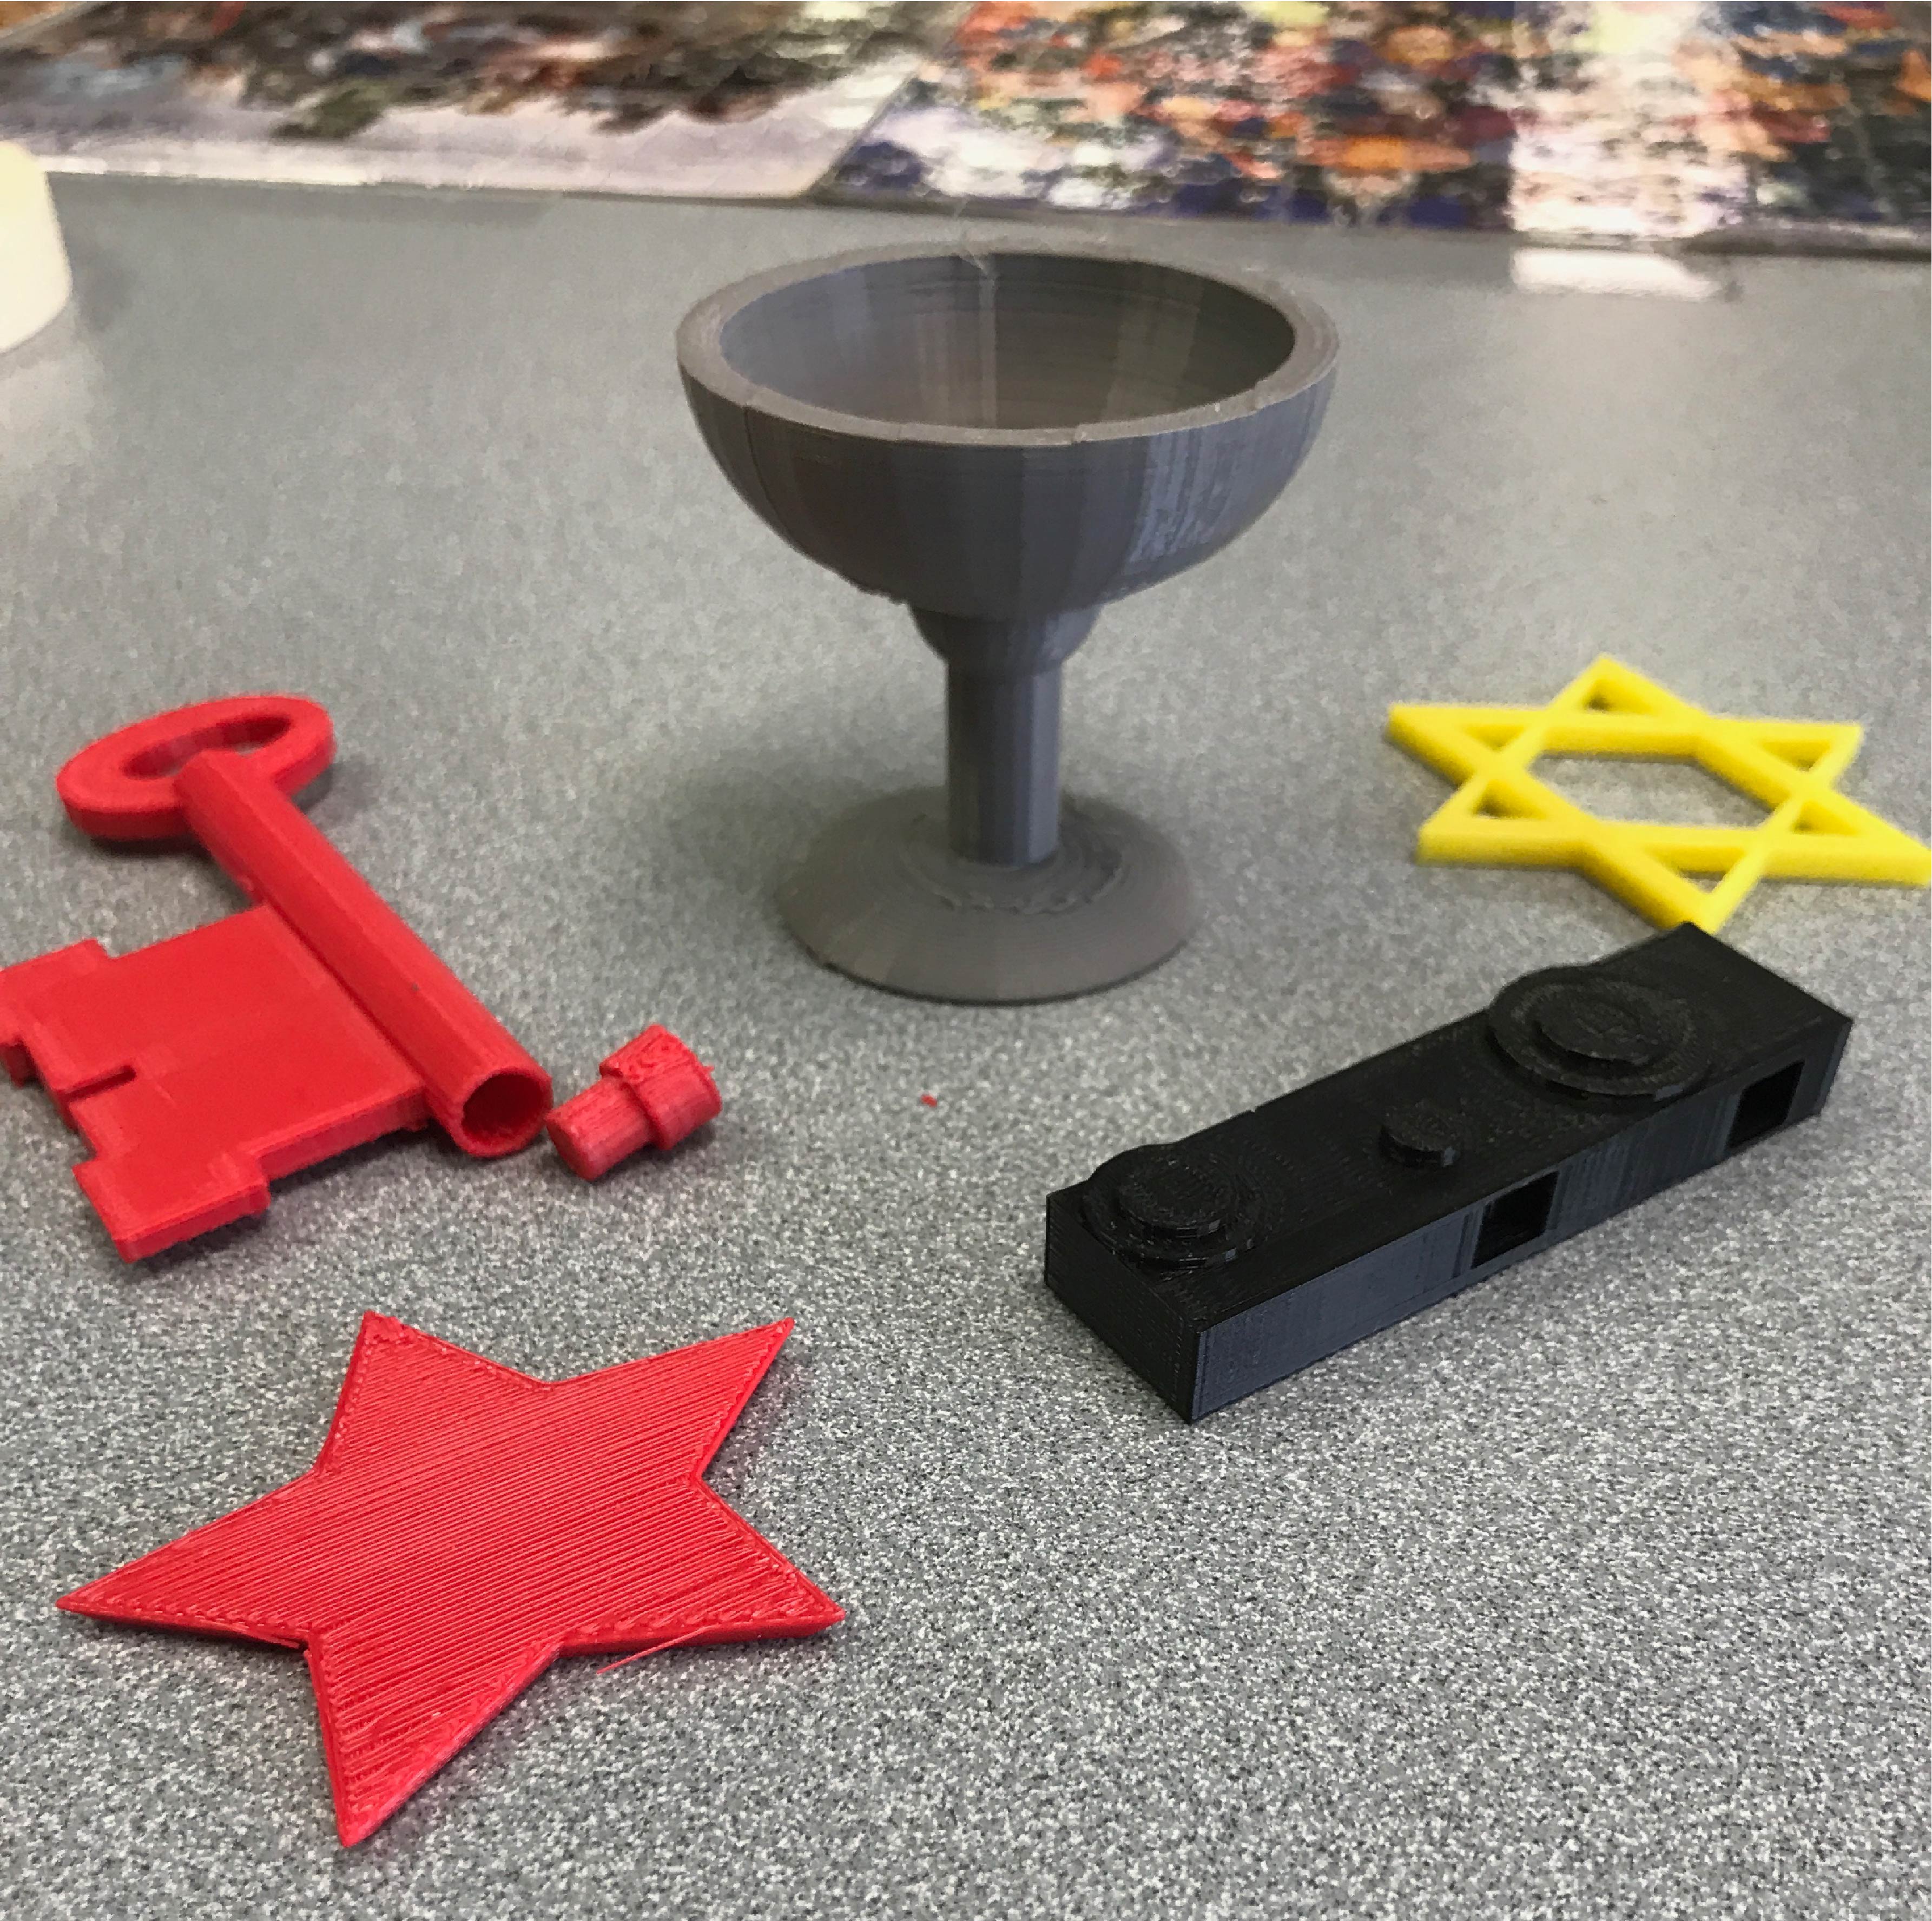
Because of what we were striving to create, some of our first purchases included craft supplies (popsicle sticks, cups, rubber bands, and paper plates), a green screen kit with lighting, 3D pens, electrical supplies (copper tape, leds, batteries), and Spheros. From there we acquired a grant to purchase a 3D printer, sewing machine, CUE and Lego Mindstorm Robots. We acquired a set of Microbits through Donors Choose and Arduinos through a partnership with the Inspired by Qualcomm Thinkabit Labs. Each piece has increased the types of activities we can incorporate into projects and increased the depth and breadth of student knowledge.
Getting Teacher Buy In
A key piece of this puzzle is giving teachers time to come in and “play” with the tools you want them to use with their students. I set up a few PLEARN days. PLEARN stands for Play and Learn. Teachers could come in during work days or planning to learn to use the tools now available. They made 3D nametags on the 3D printer, took green screen pictures, drove the Spheros, and made things with the 3D pens. I set up simple cheat sheets for them to use on their own and was on hand to lend support as they learned to used the tools of their choice. While they played with the tools we talked about how these could be used in their content. Just one day of training led to at least 3 separate lessons with classes the next week. You take progress any way you can get it!
Keep Track of Progress
One final note. Be sure to keep a record of the activities you do with students or when students use the resources. Keeping track of the numbers of students who come in, the activities they do and the resources they use can be very beneficial when you are seeking additional funding.
Go Forth and Build It!
Let’s recap what’s been shared.
- Determine your why for creating a makerspace? What you want to accomplish, how it fits into the curriculum and meets the needs of students.
- Determine how or when you will get students in the door. Look at schedules, ways to incorporate the tools into content and what best fits the needs of students and teachers.
- What are you going to purchase? Based upon your why and the needs of your students, what resources will best support their learning?
- Get staff buy in. Let staff play with the tools. Volunteer to take students through activities. Make yourself a learning partner.
- Keep track of progress to help secure additional funding.
Best of luck on your journey in creating a makerspace. Please be sure to share your successes and points to ponder from the creation of your own makerspace. I’d love to hear from you!