
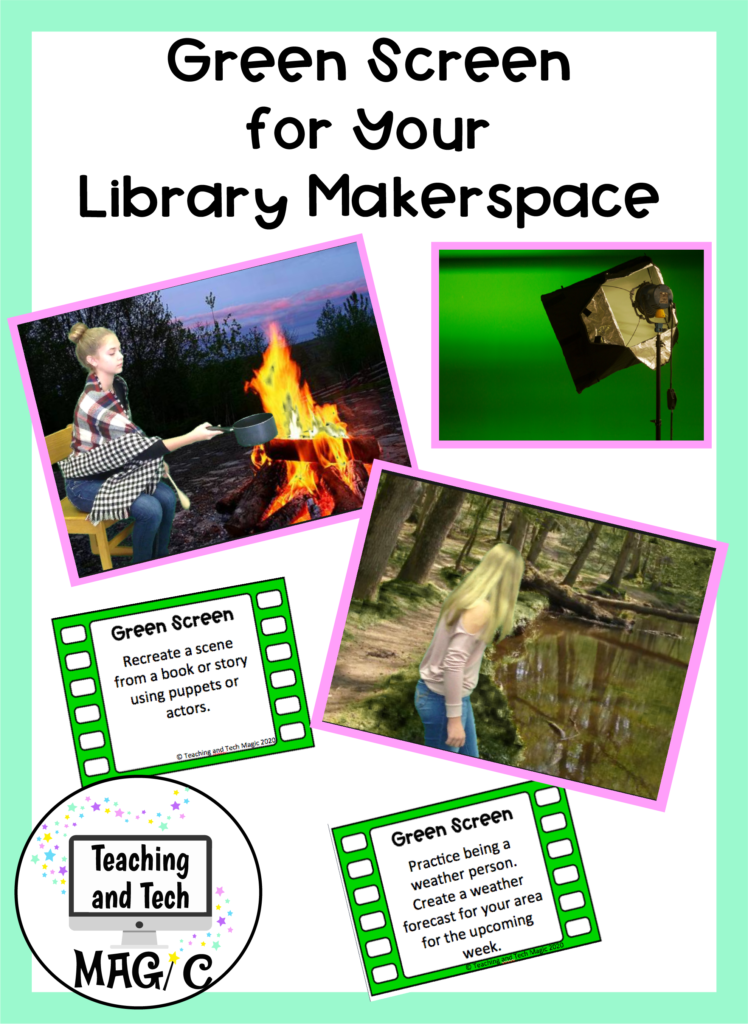
Whether your students want to take themselves back in time, create their own weather report, or create ace photographer like holiday photos, you need this for your library makerspace. It can come in many shapes, sizes and formats. You can make it by painting walls, adding fabric, painting the inside of pizza boxes or using construction paper. What is it that you need to make sure you include in your library makerspace? That, my friend, is a green screen.
Green screen videos help students address key skills such as writing and public speaking. Adding a video component to a project helps to get students actively engaged in these skills in a fun way. While students can come in, record, and leave, it helps to have a process in place to produce a quality product. By collaborating with teachers as they set up the project guidelines, you can ensure students are prepared when they come in to record their video.
Creating a Green Screen Video
Script
One of the first things students need to have in place before they begin to record the video is a script. Students need to say who is going to do what and when. Students who have done more than one green screen video quickly learn that it helps to add when each person will be on and off the screen. They also learn to create scenes. This may be to help with the movement of the actors or for costume changes.
Practice
To make the recording process go quickly, I have students practice their script before they actually begin to record the video. When students know their lines or at least the order in which they are to speak, it makes the recording process go faster.
Pick the Background Images
Now that students have practiced their skit, they need to consider the images that will be in the background. This can affect how students move, where they place props and where they stand. Sites such as Pixabay.com and Unsplash.com can provide students with images that can be used that fall within Creative Commons guidelines and avoid infringing upon copyright.
Practice with Green Screen and Camera
Depending upon the size or setup of your green screen and the background images they choose, students may be limited in motion. Students will need to practice with these things in place in order to make the moves look more realistic and fitting for the background.
This is best completed with the camera set up and images in place in whatever software you choose to use to record the video. My favorites are the DoInk App and iMovie.
Recording Your Video
When all of the pieces are in place it is time to record the video. If students are only using one background and only one scene, I suggest they record one solid video inside of the software they are using for green screen. If their video has multiple scenes for backgrounds, I suggest they record each scene separately and save it to the camera roll. Then I have them import the completed sections into their preferred software and combine them to create their full project.
Sharing Video
My preference is to have students email the video to themselves or save in their Google drive. Some school email accounts have limits on the size of an object that can be sent through the account. Other options may need to be considered. Dropbox and a private school YouTube account may be other options. You can password protect the video so that only those with the password can view it.
Ideas for Green Screen Videos
No matter what subject you teach, there are ways to add a green screen component to any project. From skits to puppet shows, you’ll find your students excited and engaged while creating their project.
If you’re looking for green screen ideas to help spark the imagination of students, I’ve created a set of 20 task cards to help your students add a memorable artifact to their next project. I’ve even included a template to help you create your own. You can see these and more ideas for your library makerspace at my Teaching and Tech Magic TPT store.